Can You 3D Print With a 3D Printed Nozzle? Featuring Incus 3D
I spent days wandering the halls of the Frankfurt convention center for Formnext 2023. One company, Incus, had an amazing display booth that I stopped to admire. They had tiny metal parts - some of the smallest I’ve ever seen.
incus Display Booth at Formnext
One of the parts was instantly recognizable to any 3D printing afficianado - a RepRap MK6 Nozzle. This has been the standard nozzle that most machines use for over a decade. I wanted to see if I could print with it, so I stole one while the booth crew were out at lunch. Just kidding, I asked nicely if I could have one, and they kindly donated one to the cause.
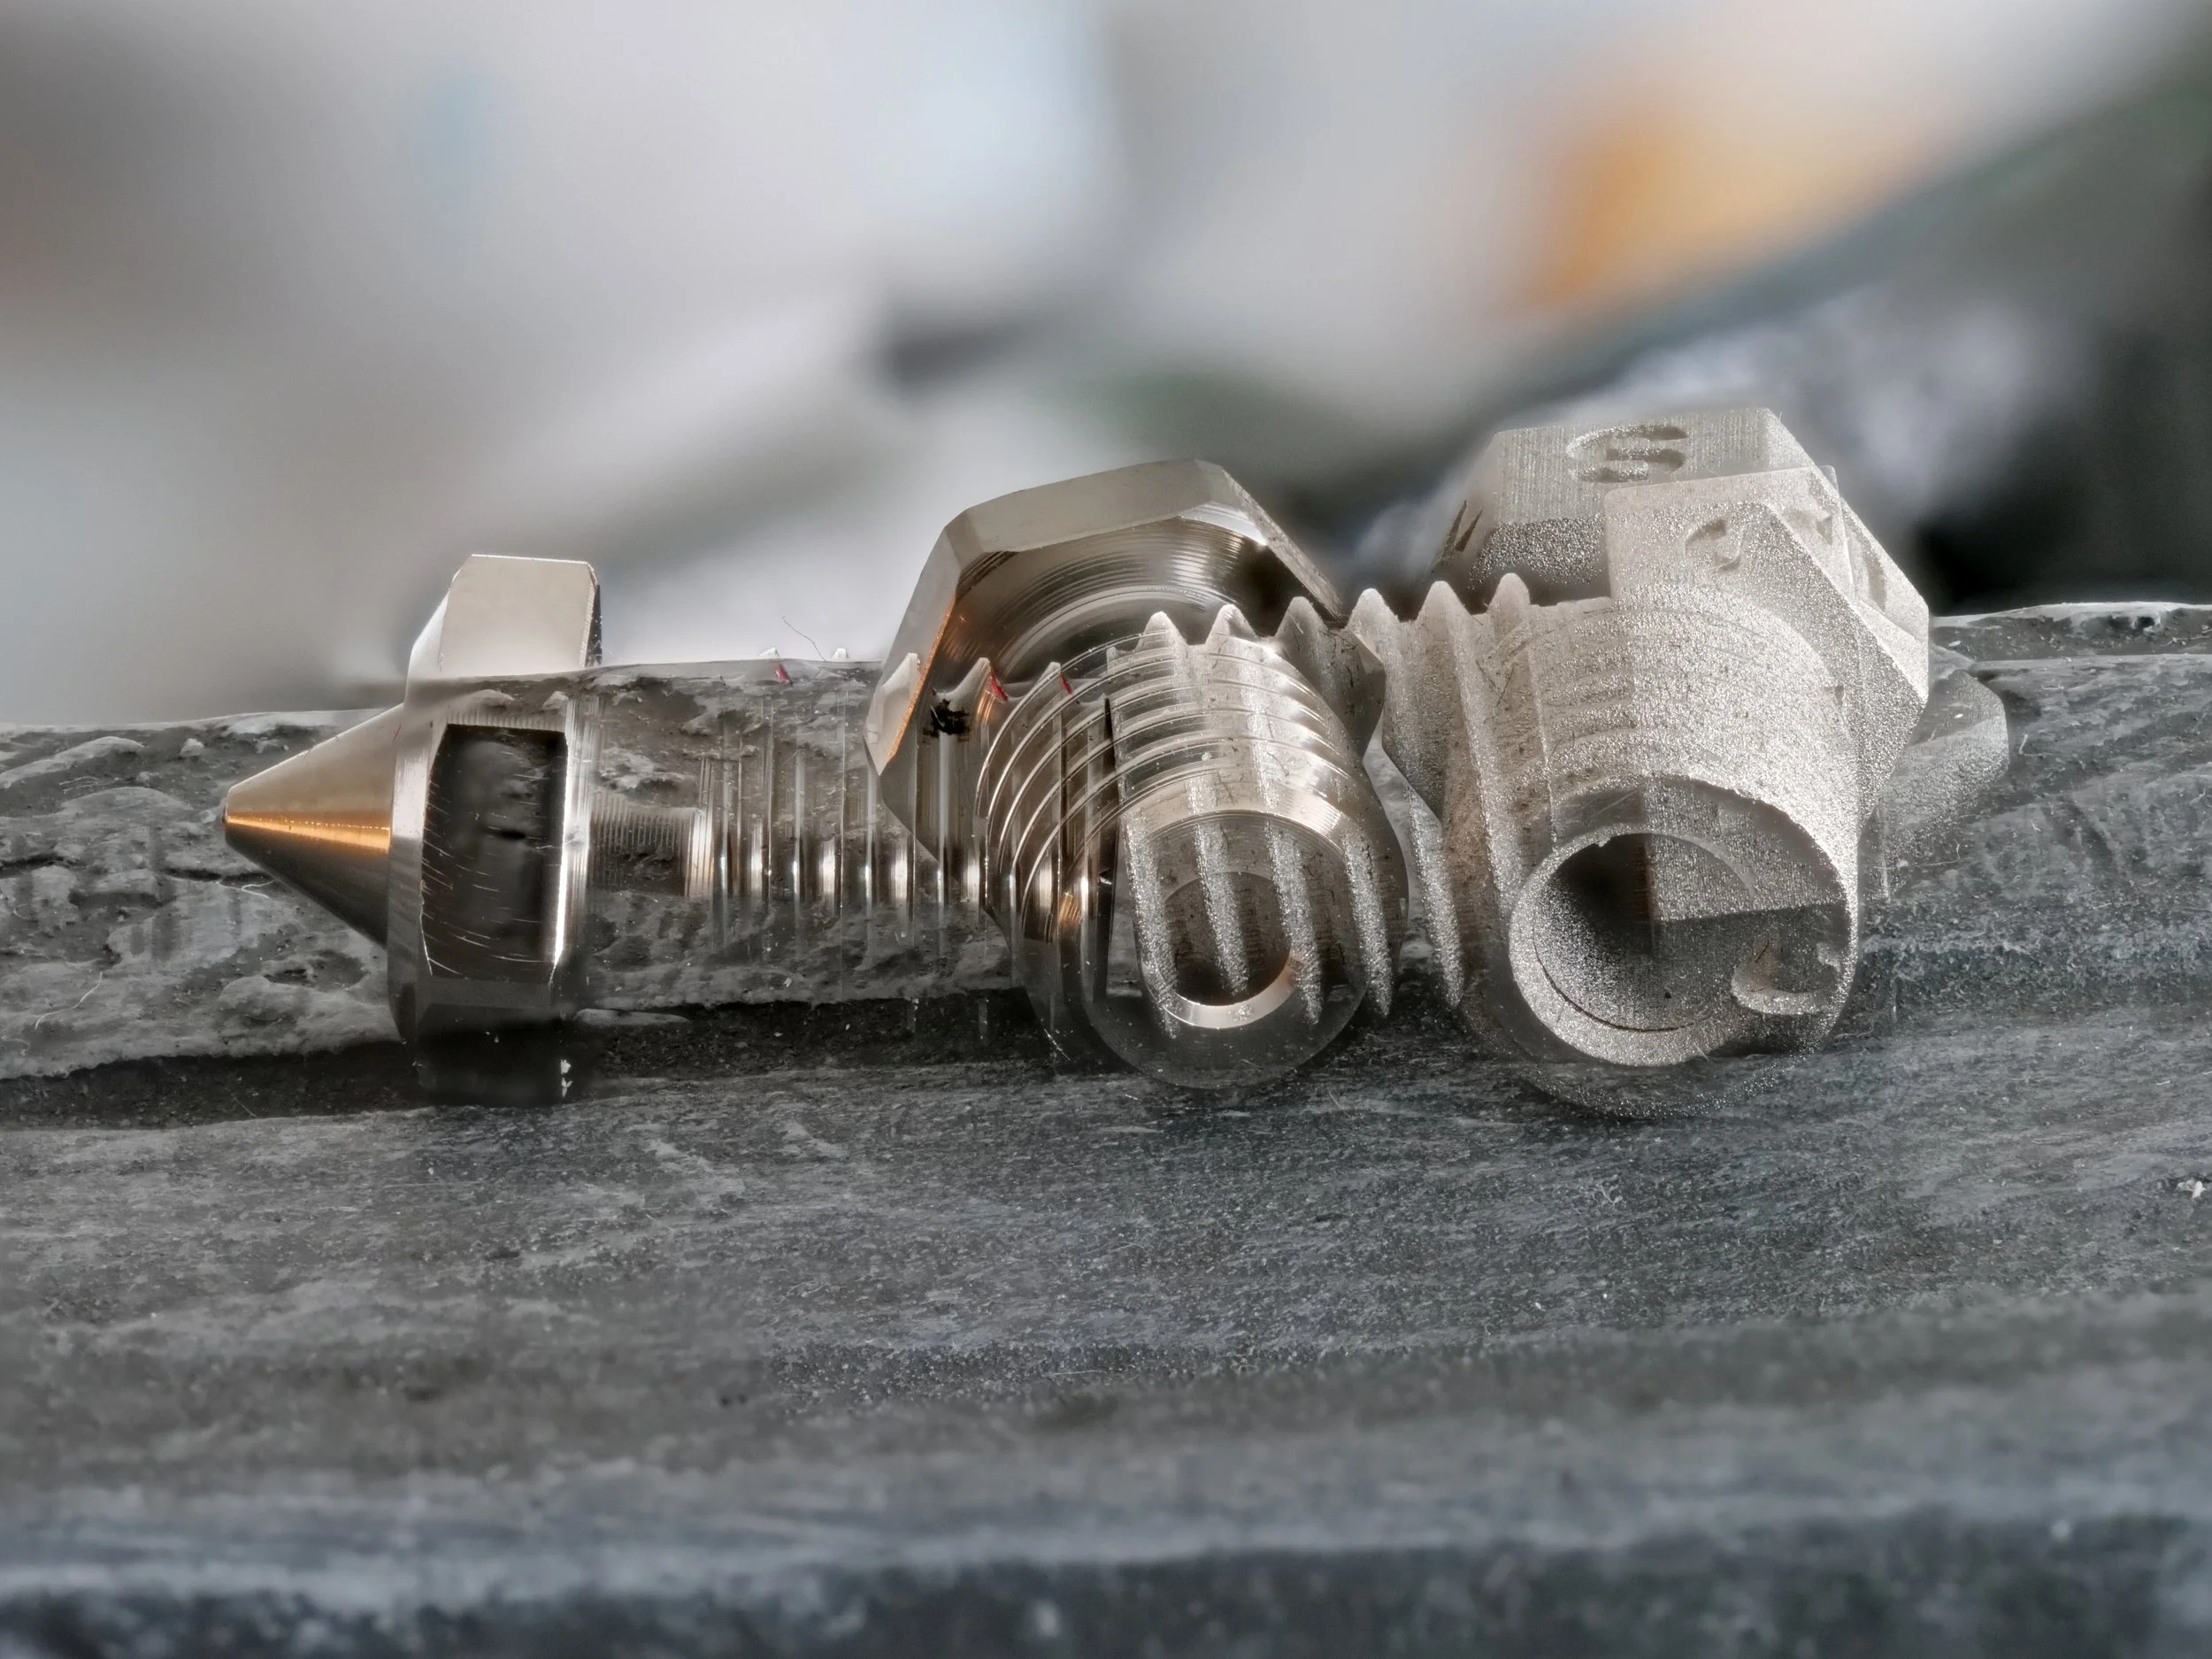
The nozzle on the left is manufactured using traditional methods, likely machined on a Swiss Lathe. The nozzle on the right was printed by incus. What is most remarkable is that even the fine details, such as the threads and the 0.4mm nozzle orifice were directly printed with no post-processing.
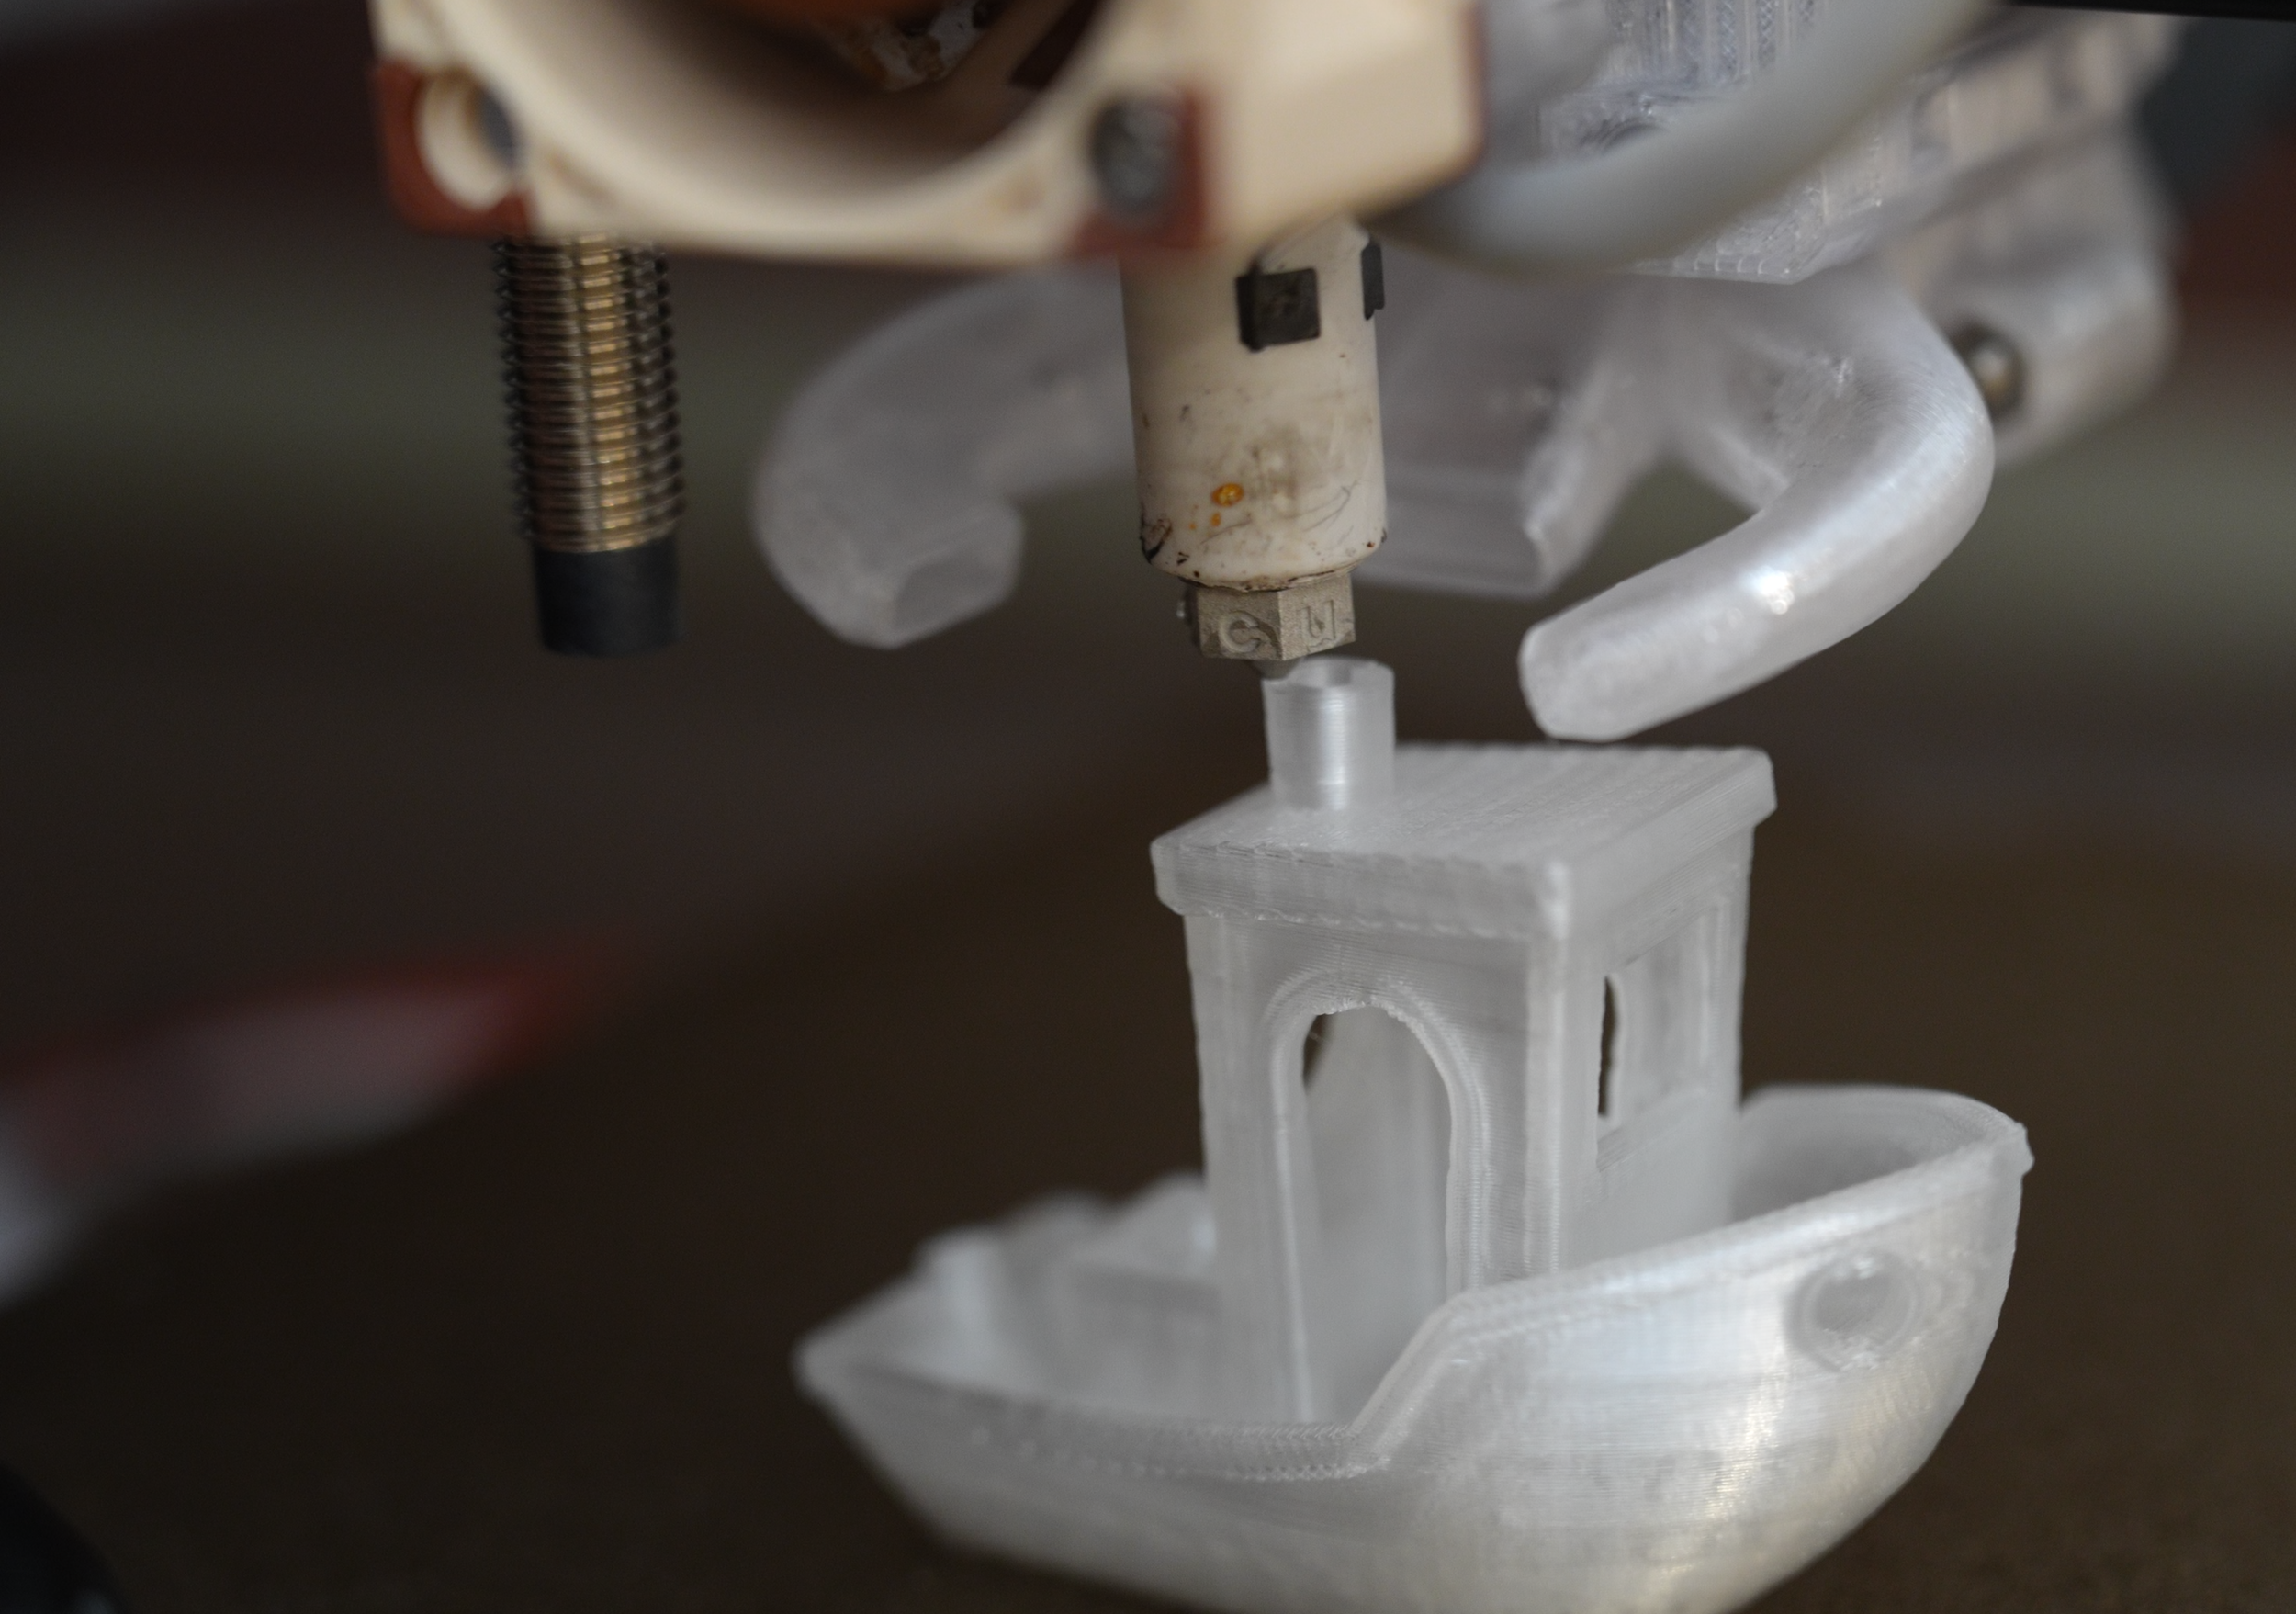
Here is an image of the incus nozzle finishing up the last part of the Benchy
After securing the nozzle onto my printer, and doing a few tests to optimize temperature settings and print speed, I tried printing a benchy. I had to turn the speeds down a little bit, just because stainless steel doesn’t have the best thermal conductivity. Incus can also print copper parts, which would probably have allowed me print a lot faster, but I only had a stainless steel nozzle for testing. But the Incus nozzle produced a high quality print, with sharp edges and fine layer lines. It was no worse than a high-end nozzle that I was using previously.
The Benchy that was printed with the incus 3D Printed Nozzle is on the left. It was printed in 61 minutes. The benchy on the right was printed with a Phaetus nozzle made of nickel coated copper nozzle with a tungsten insert in 41 minutes.
It turns out, you CAN 3D print a 3D printer nozzle. So how does incus produce such finely detailed parts? They uses a resin printing process to print their parts, but instead of using regular UV curable resin, they use a UV curable paste that has been mixed with a large amount of metal particles.
Once a part is printed and cleaned, you have a resin/metal composite part. It isn’t very strong at this point, but the plastic can be burned off, leaving a loosely bound metal part, which is then heated in a special furnace at temperatures near the metal’s melting point to sinter it into a solid metal part.
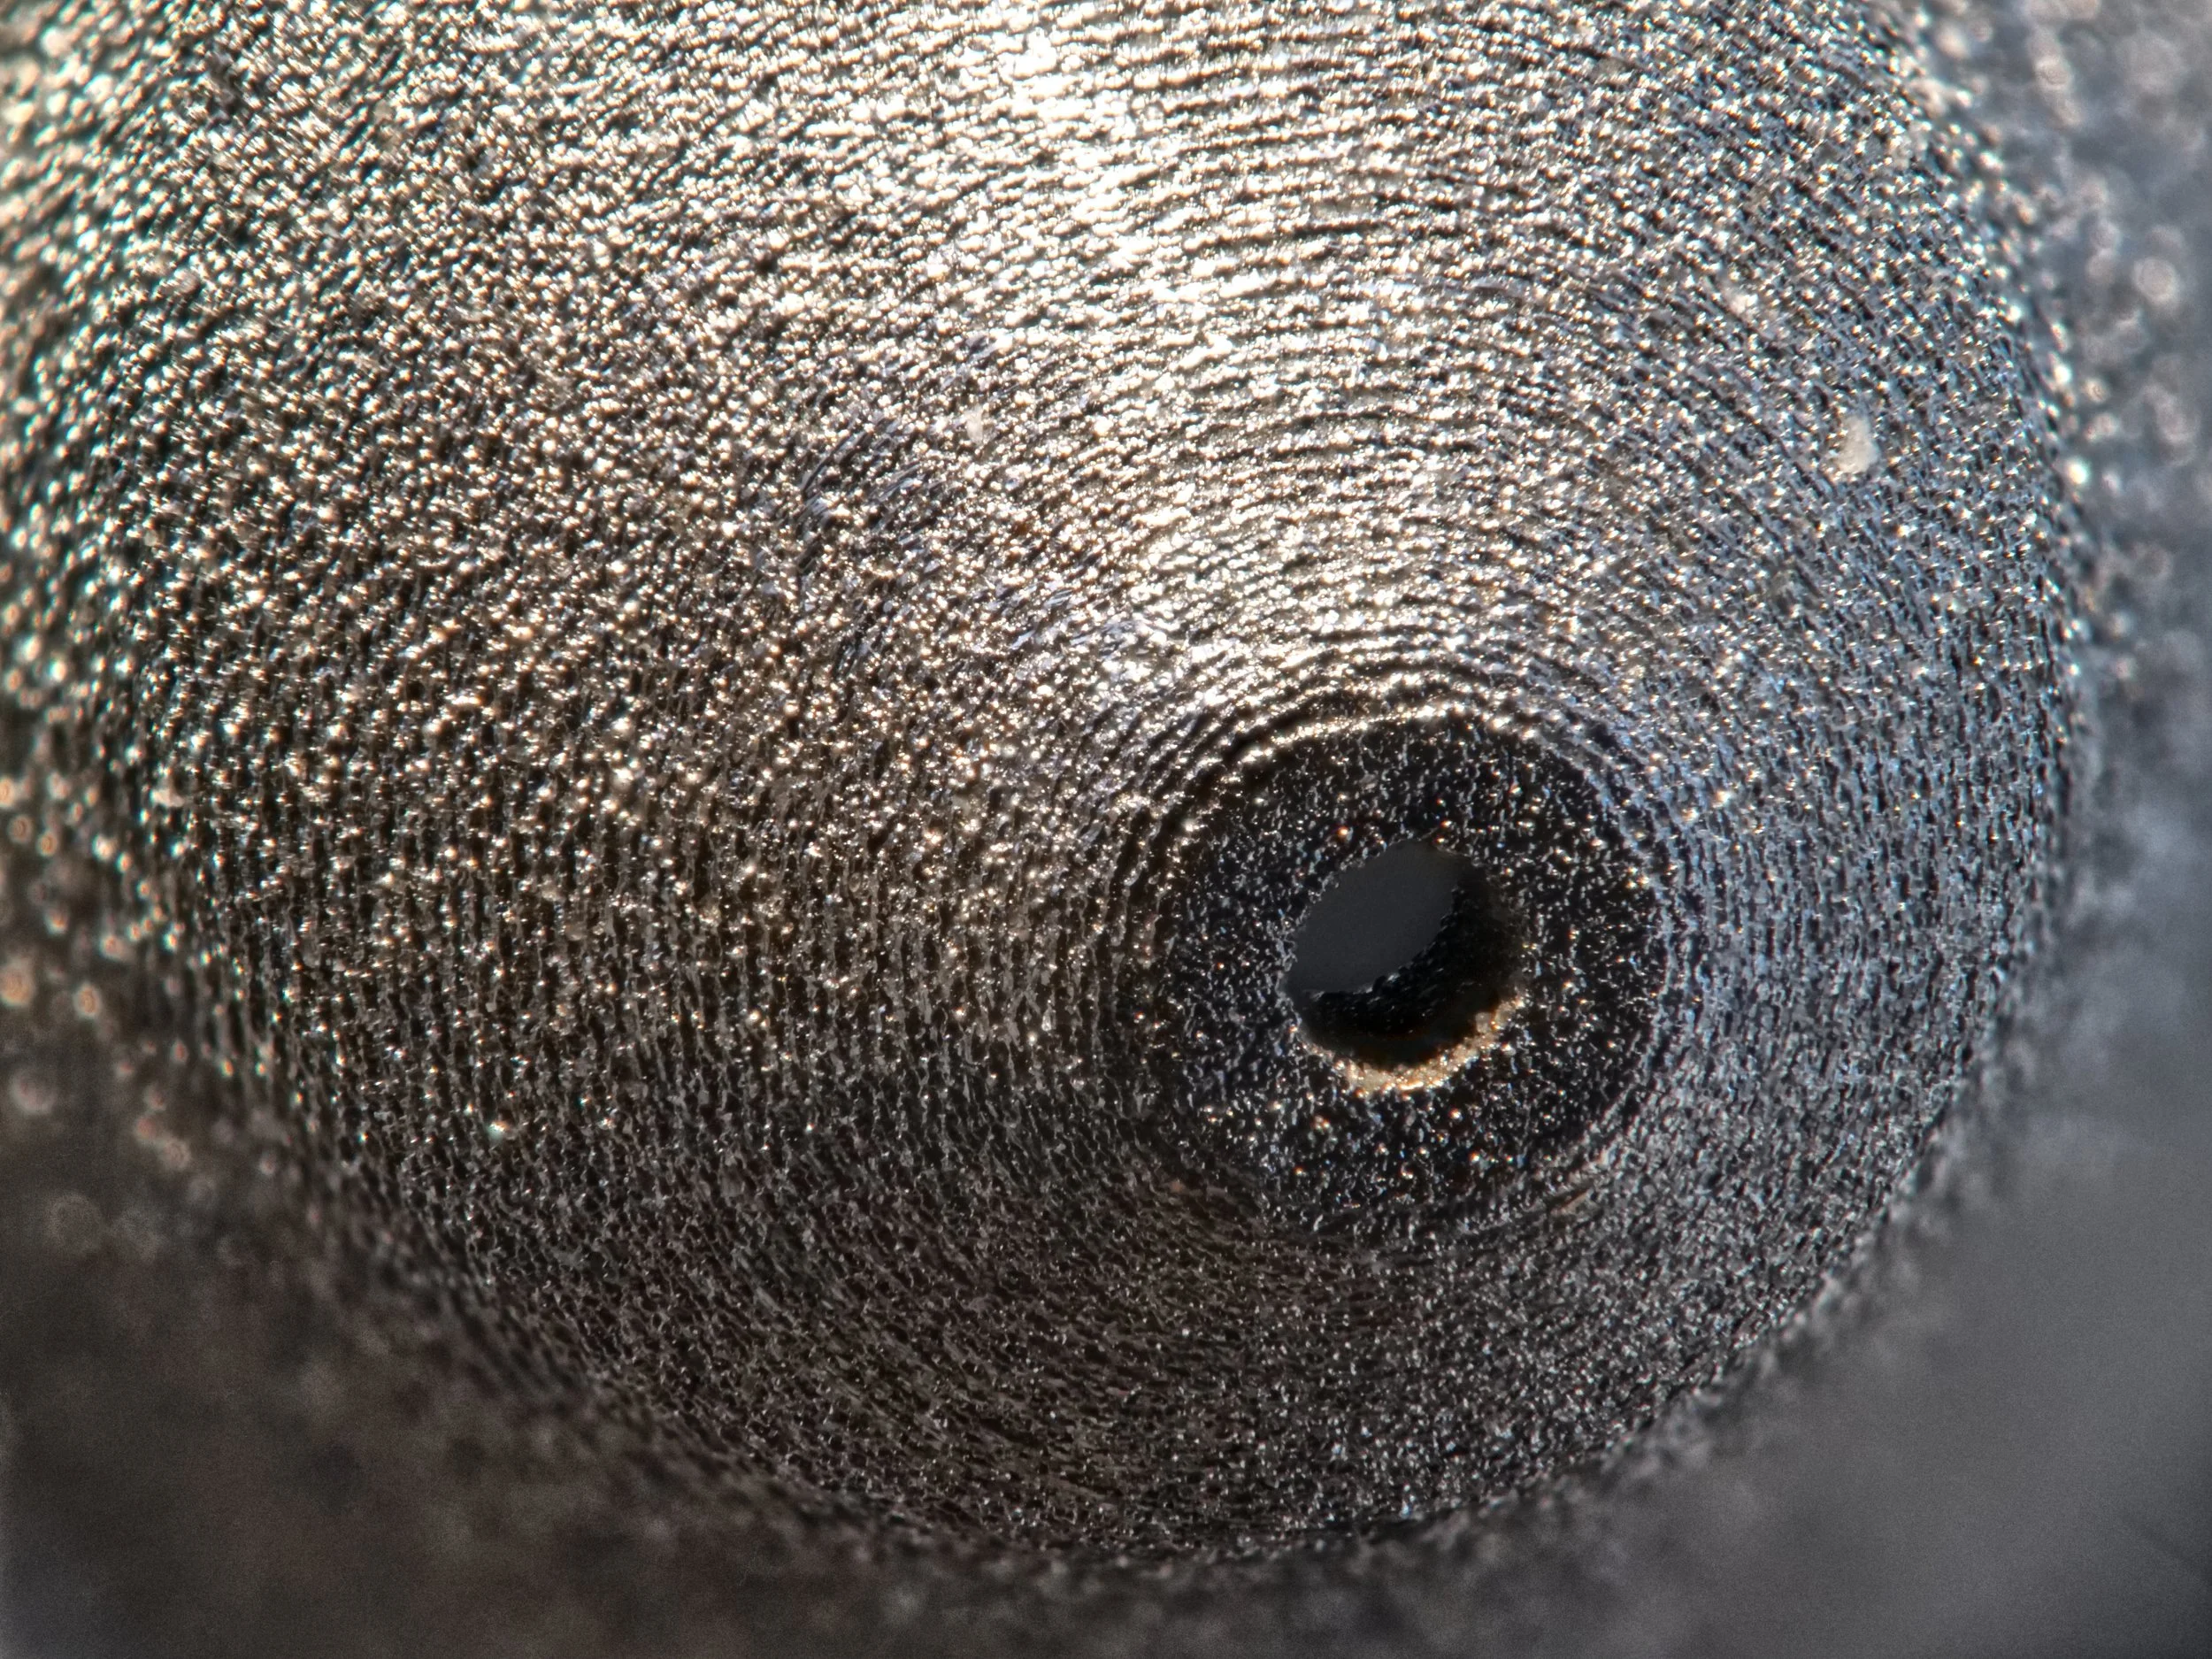
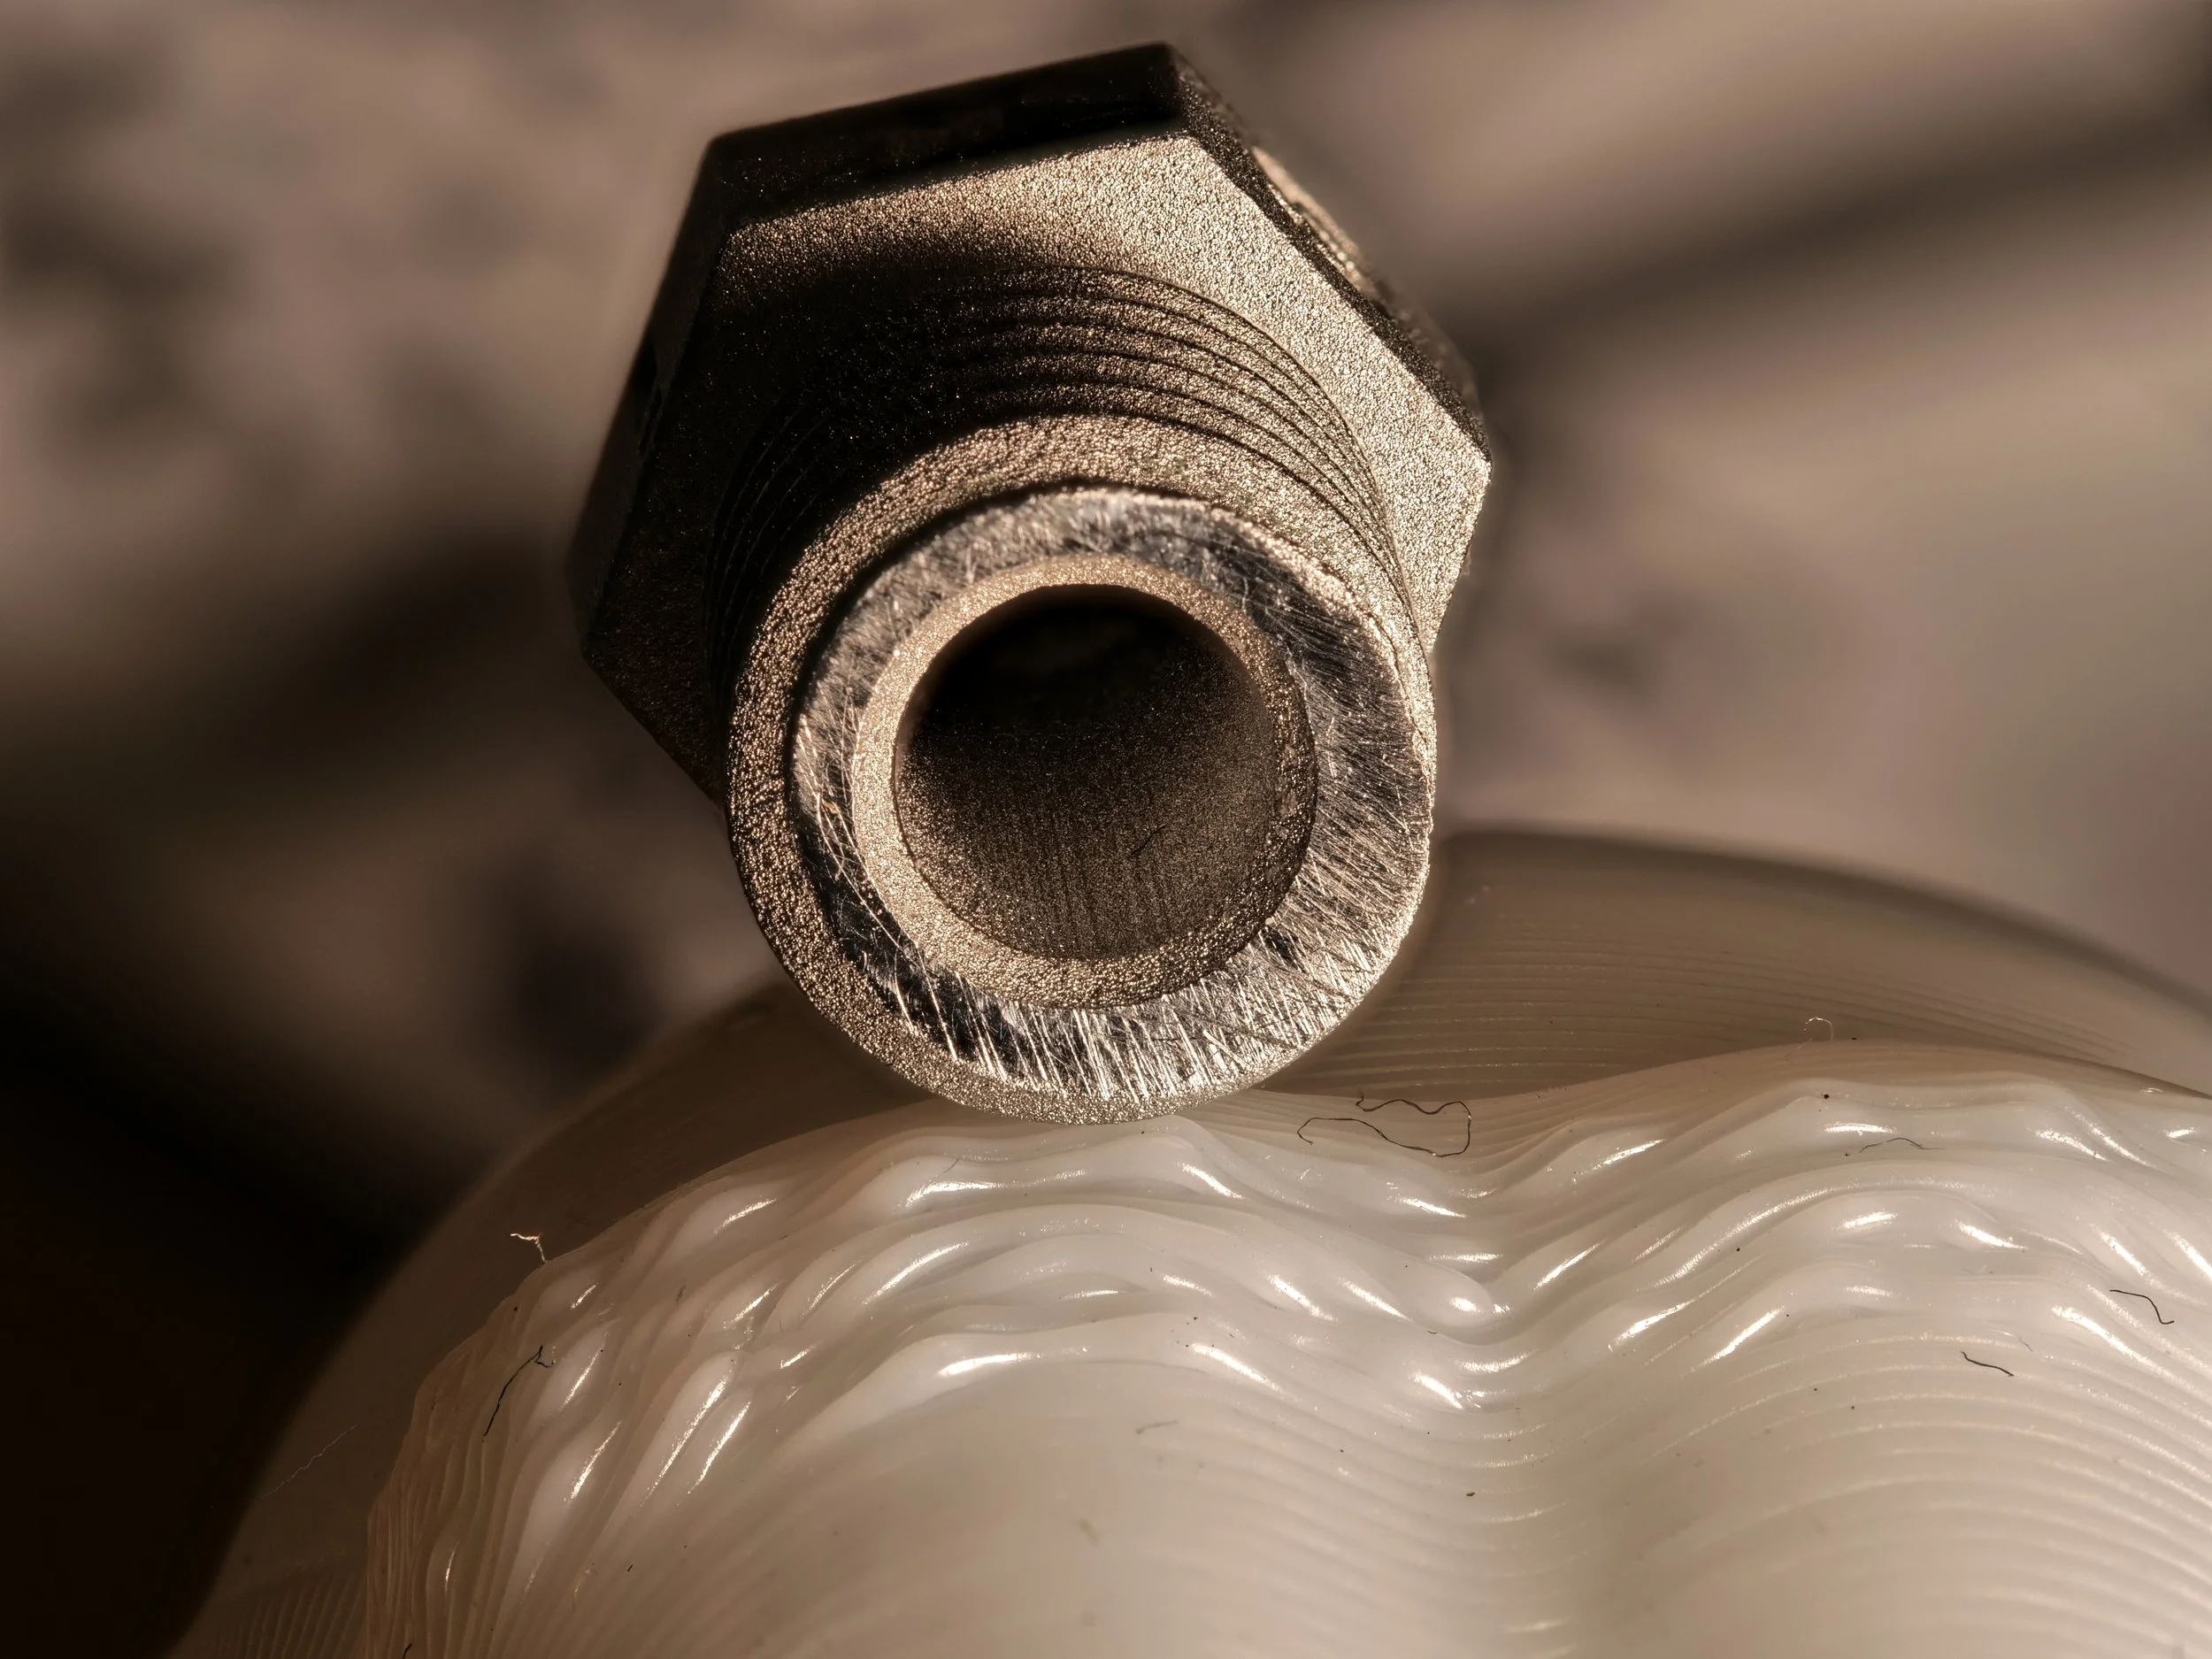
The nozzle tip of the printed nozzle is very rough. But it doesn’t look like it affected print quality very much.
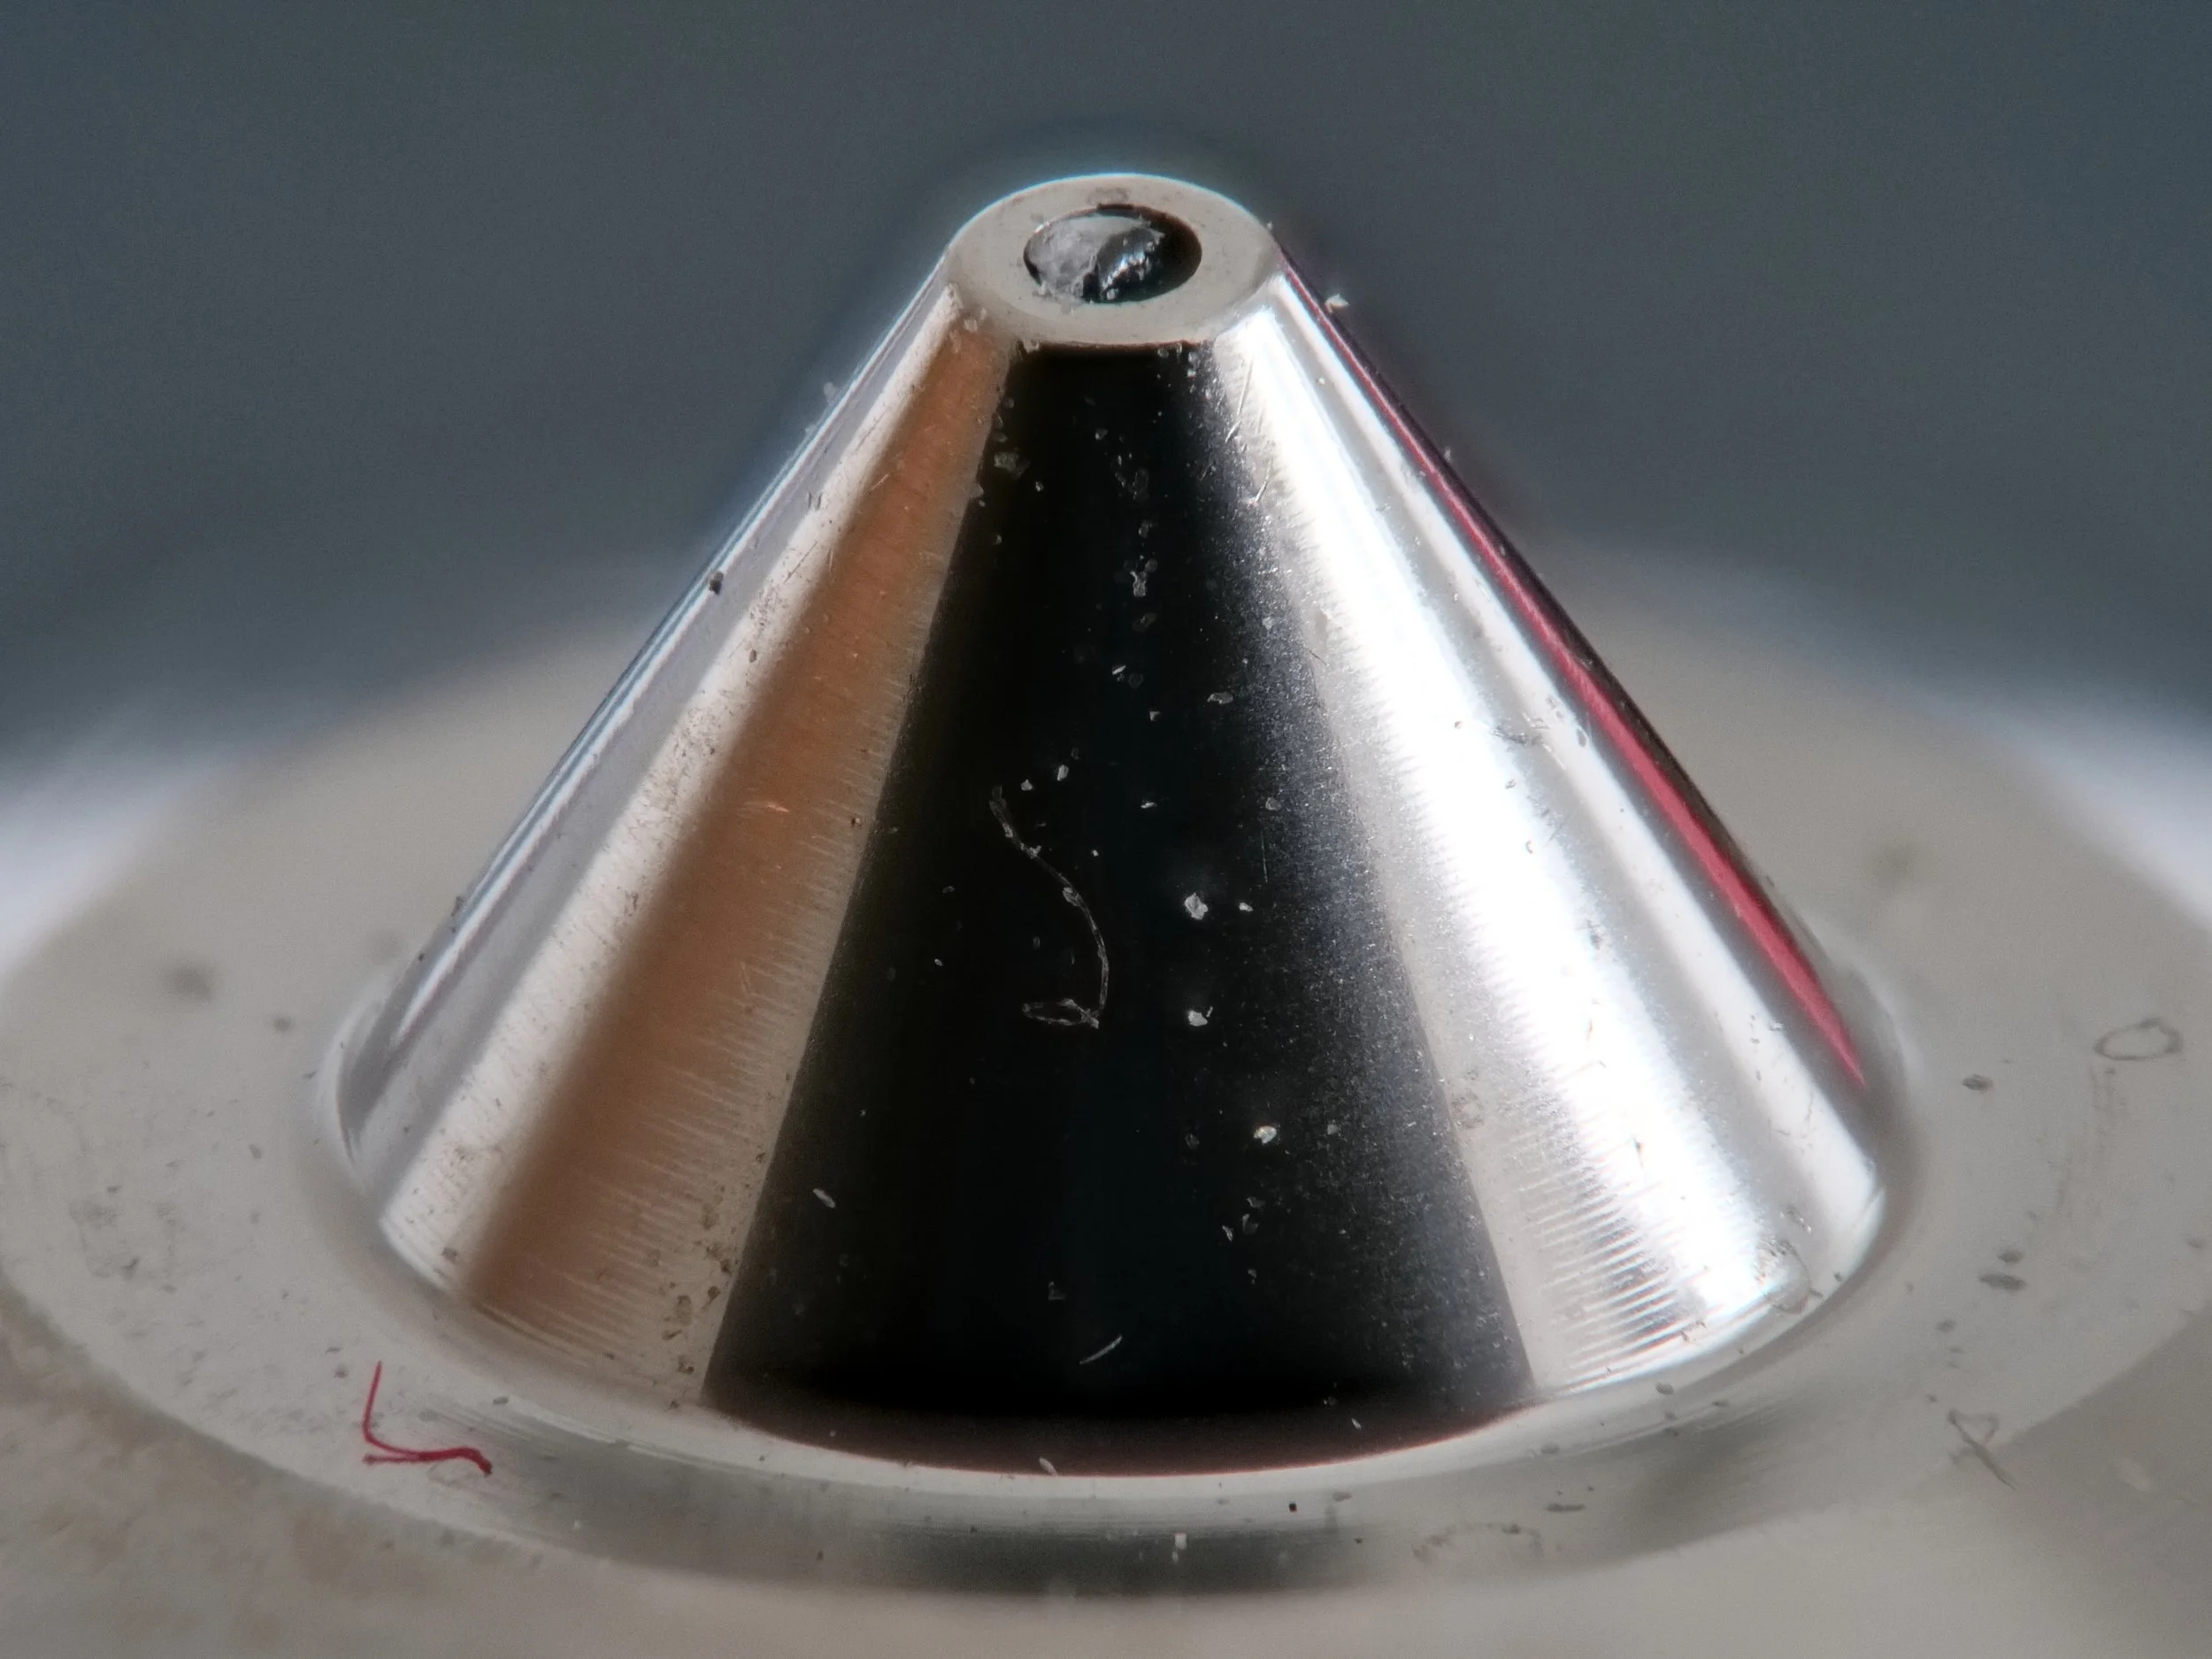
For reference, this is what a typical machined nozzle looks like. The surface is much smoother.
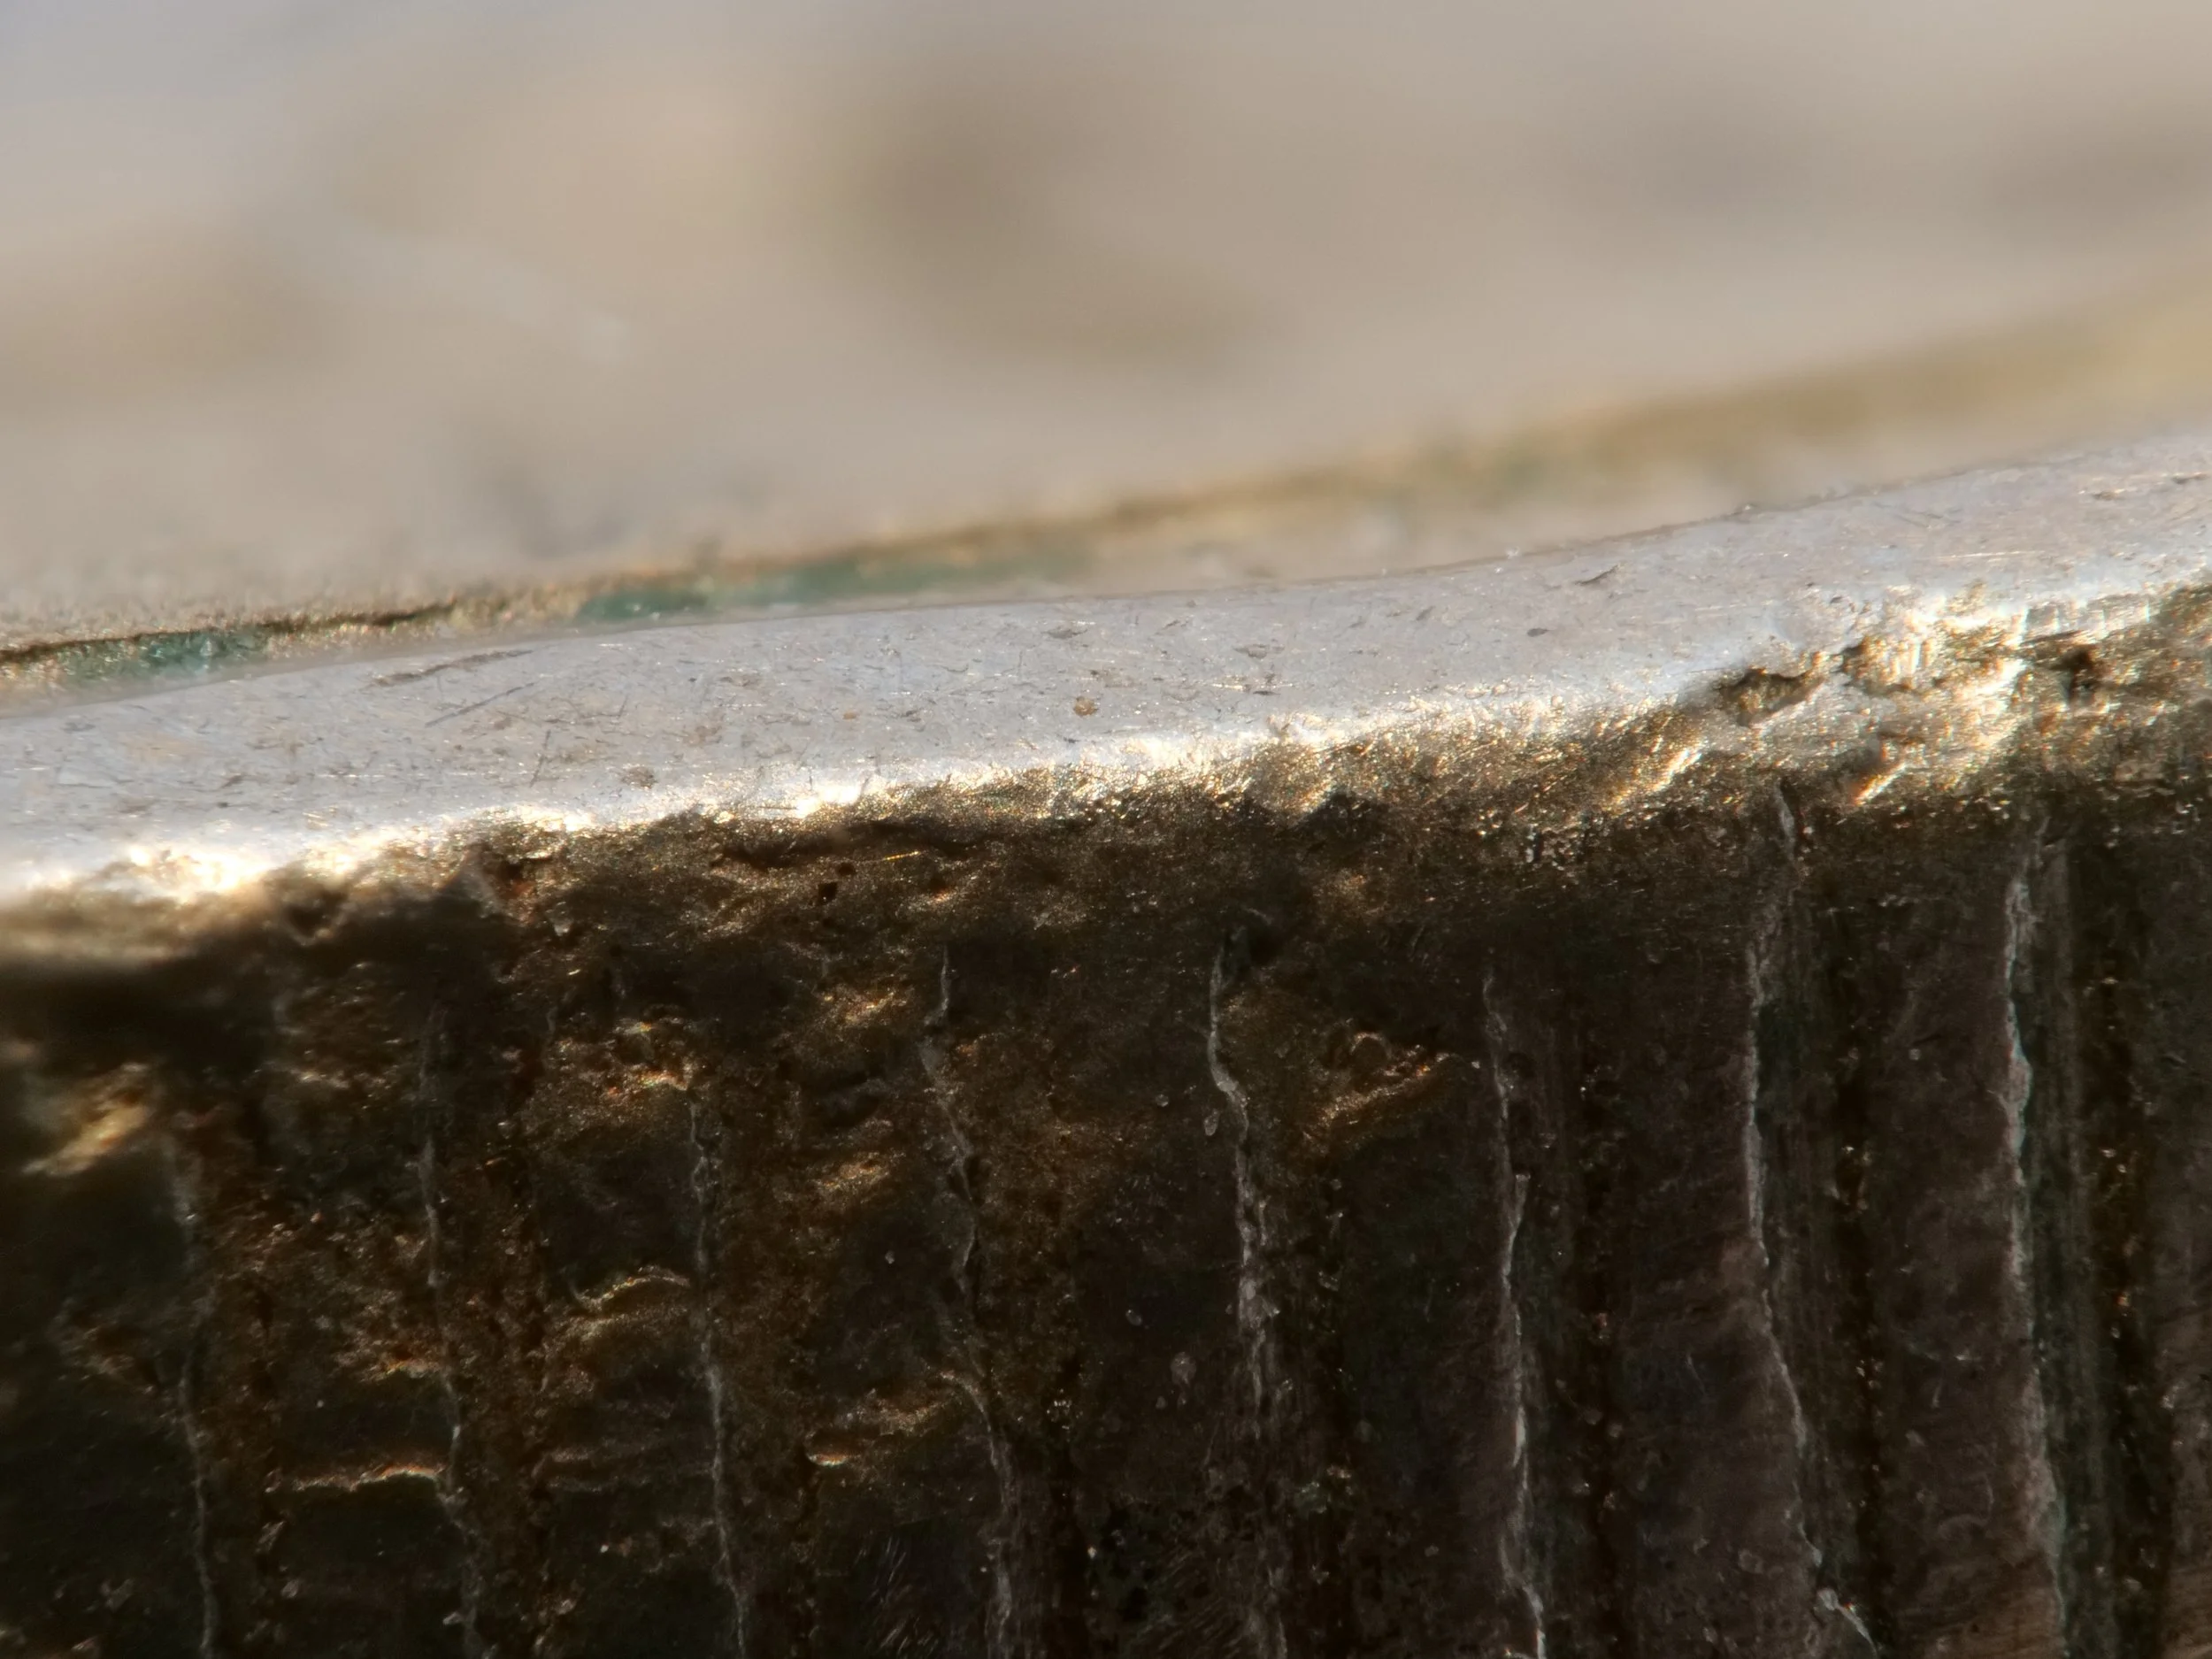
The only part that I modified was the back surface of the nozzle. When the nozzle is secured to the printer, this back surface provides the seal which prevents filament leakage. I ground the back of the nozzle against a flat piece of high carbon steel to smooth it out. It may have worked fine without this extra smoothing, but it only took a few seconds to do, and helped boost its chances of success.
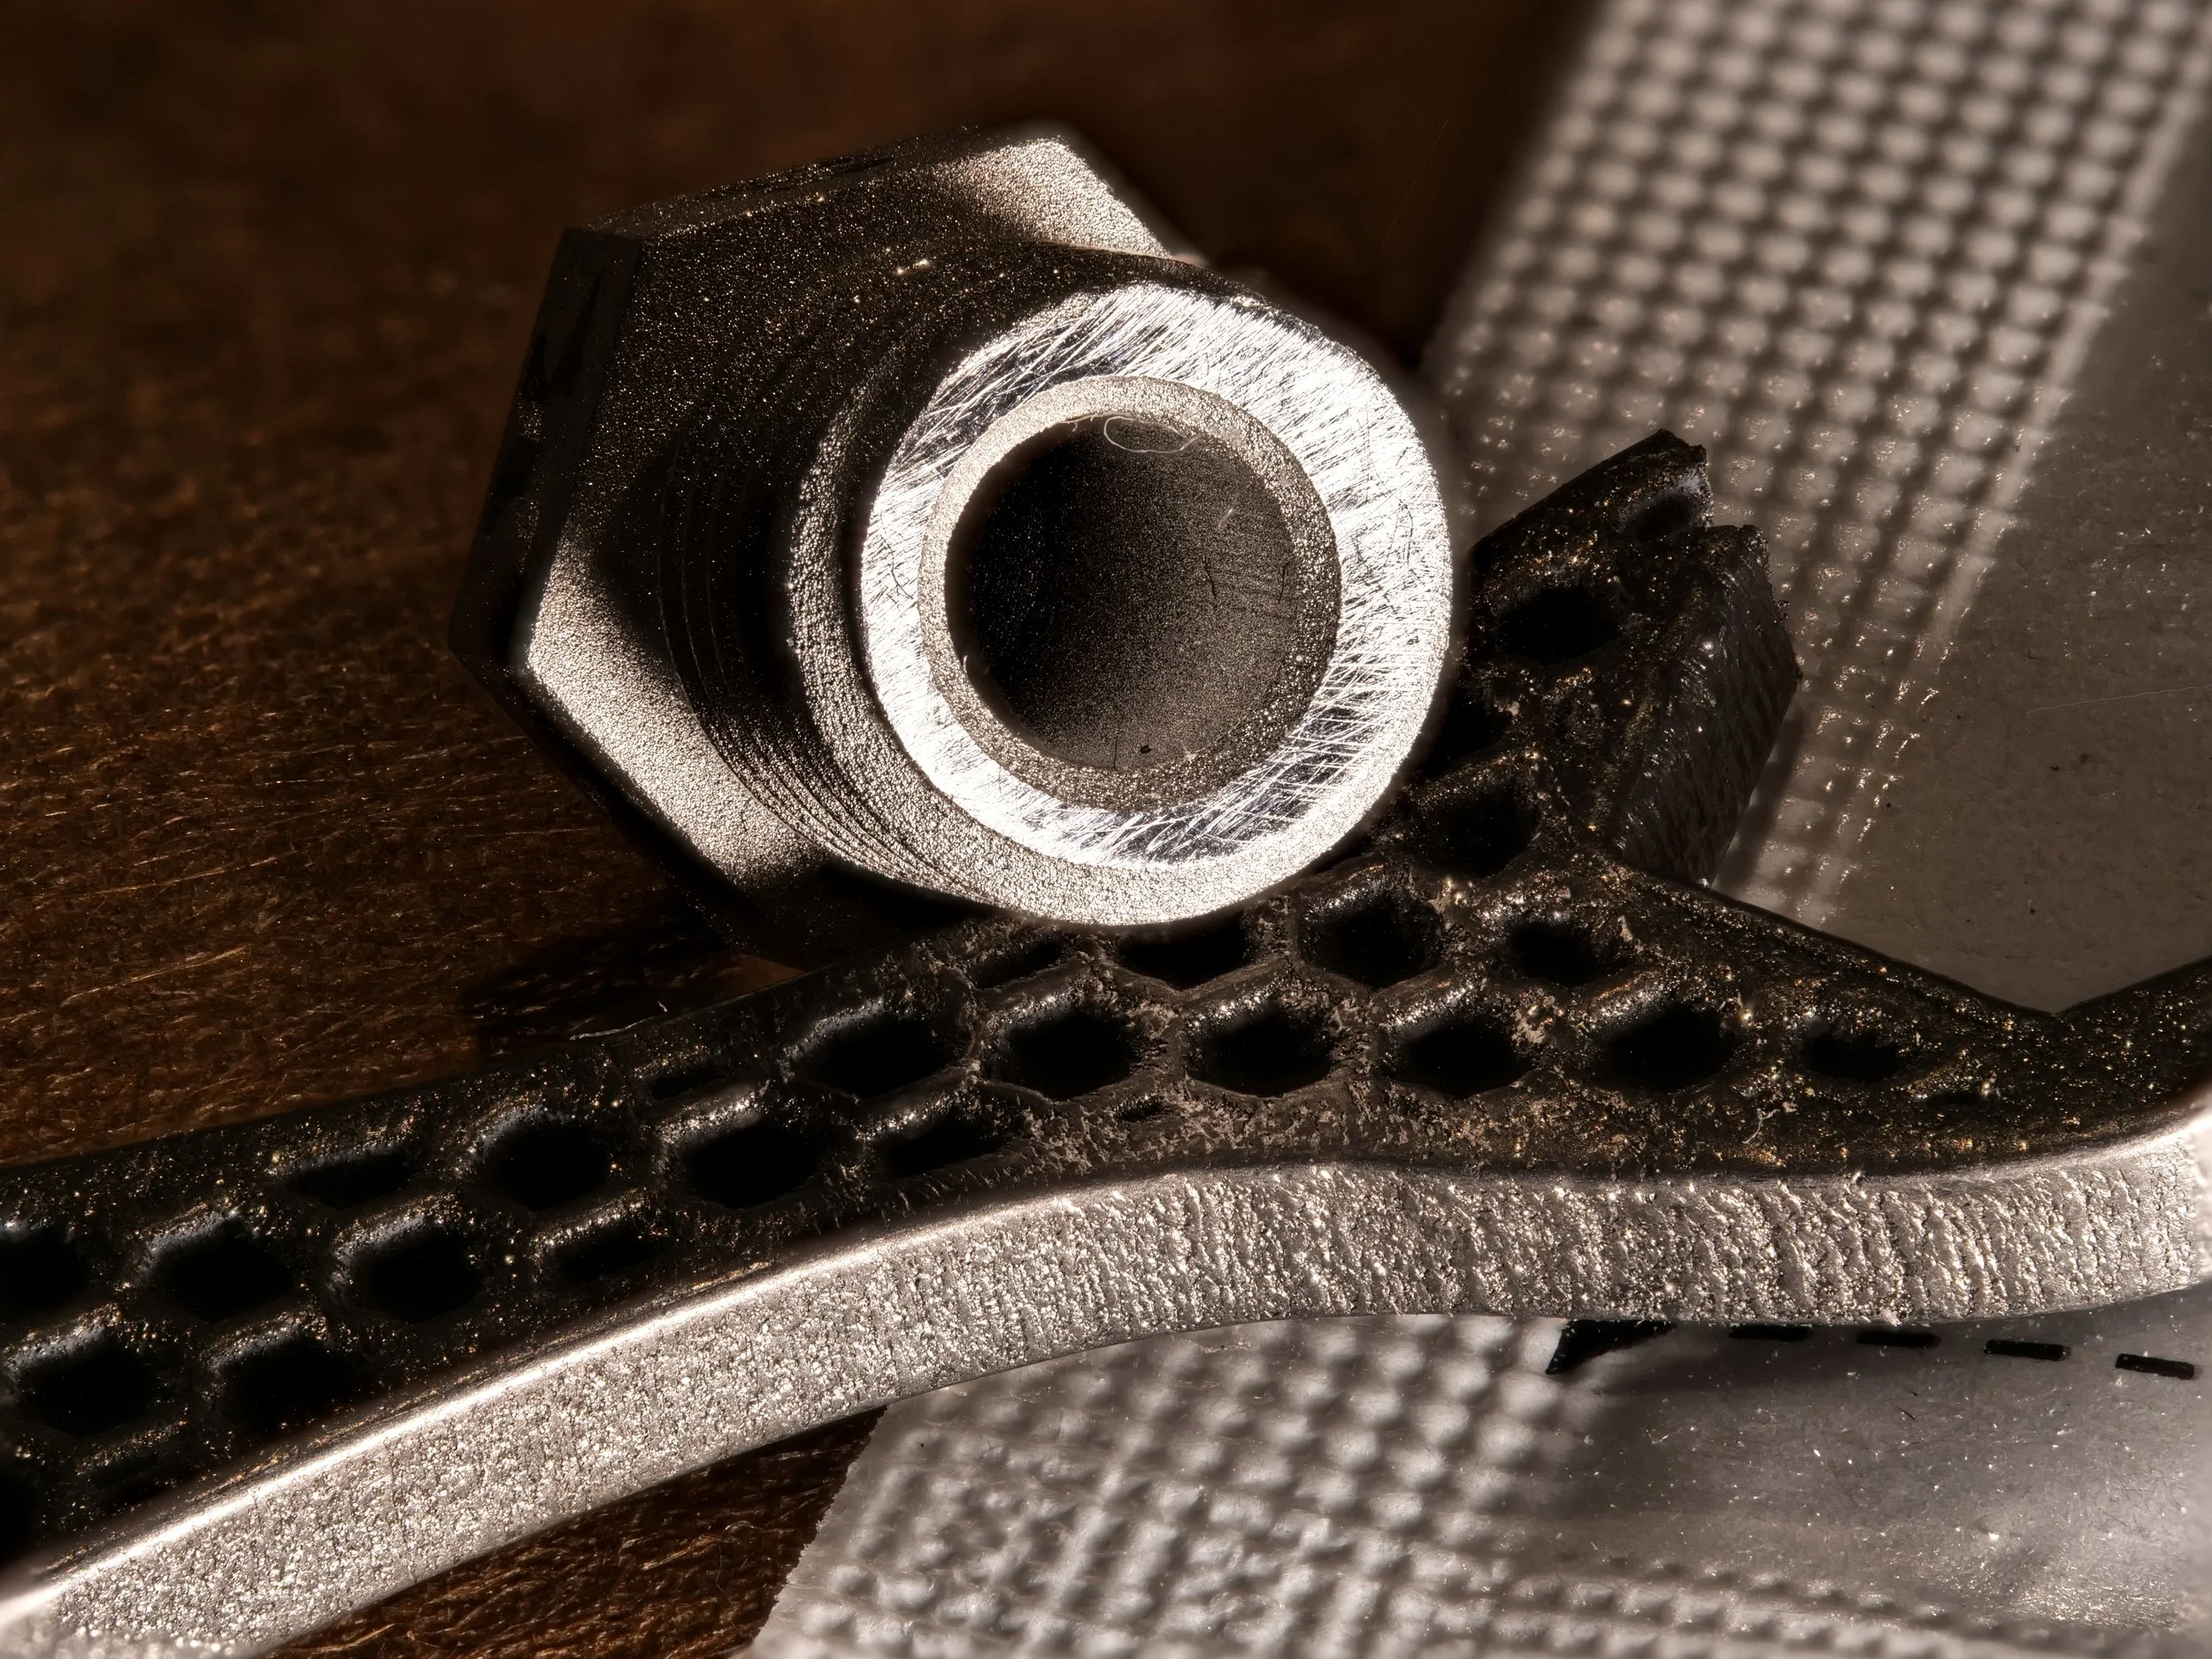
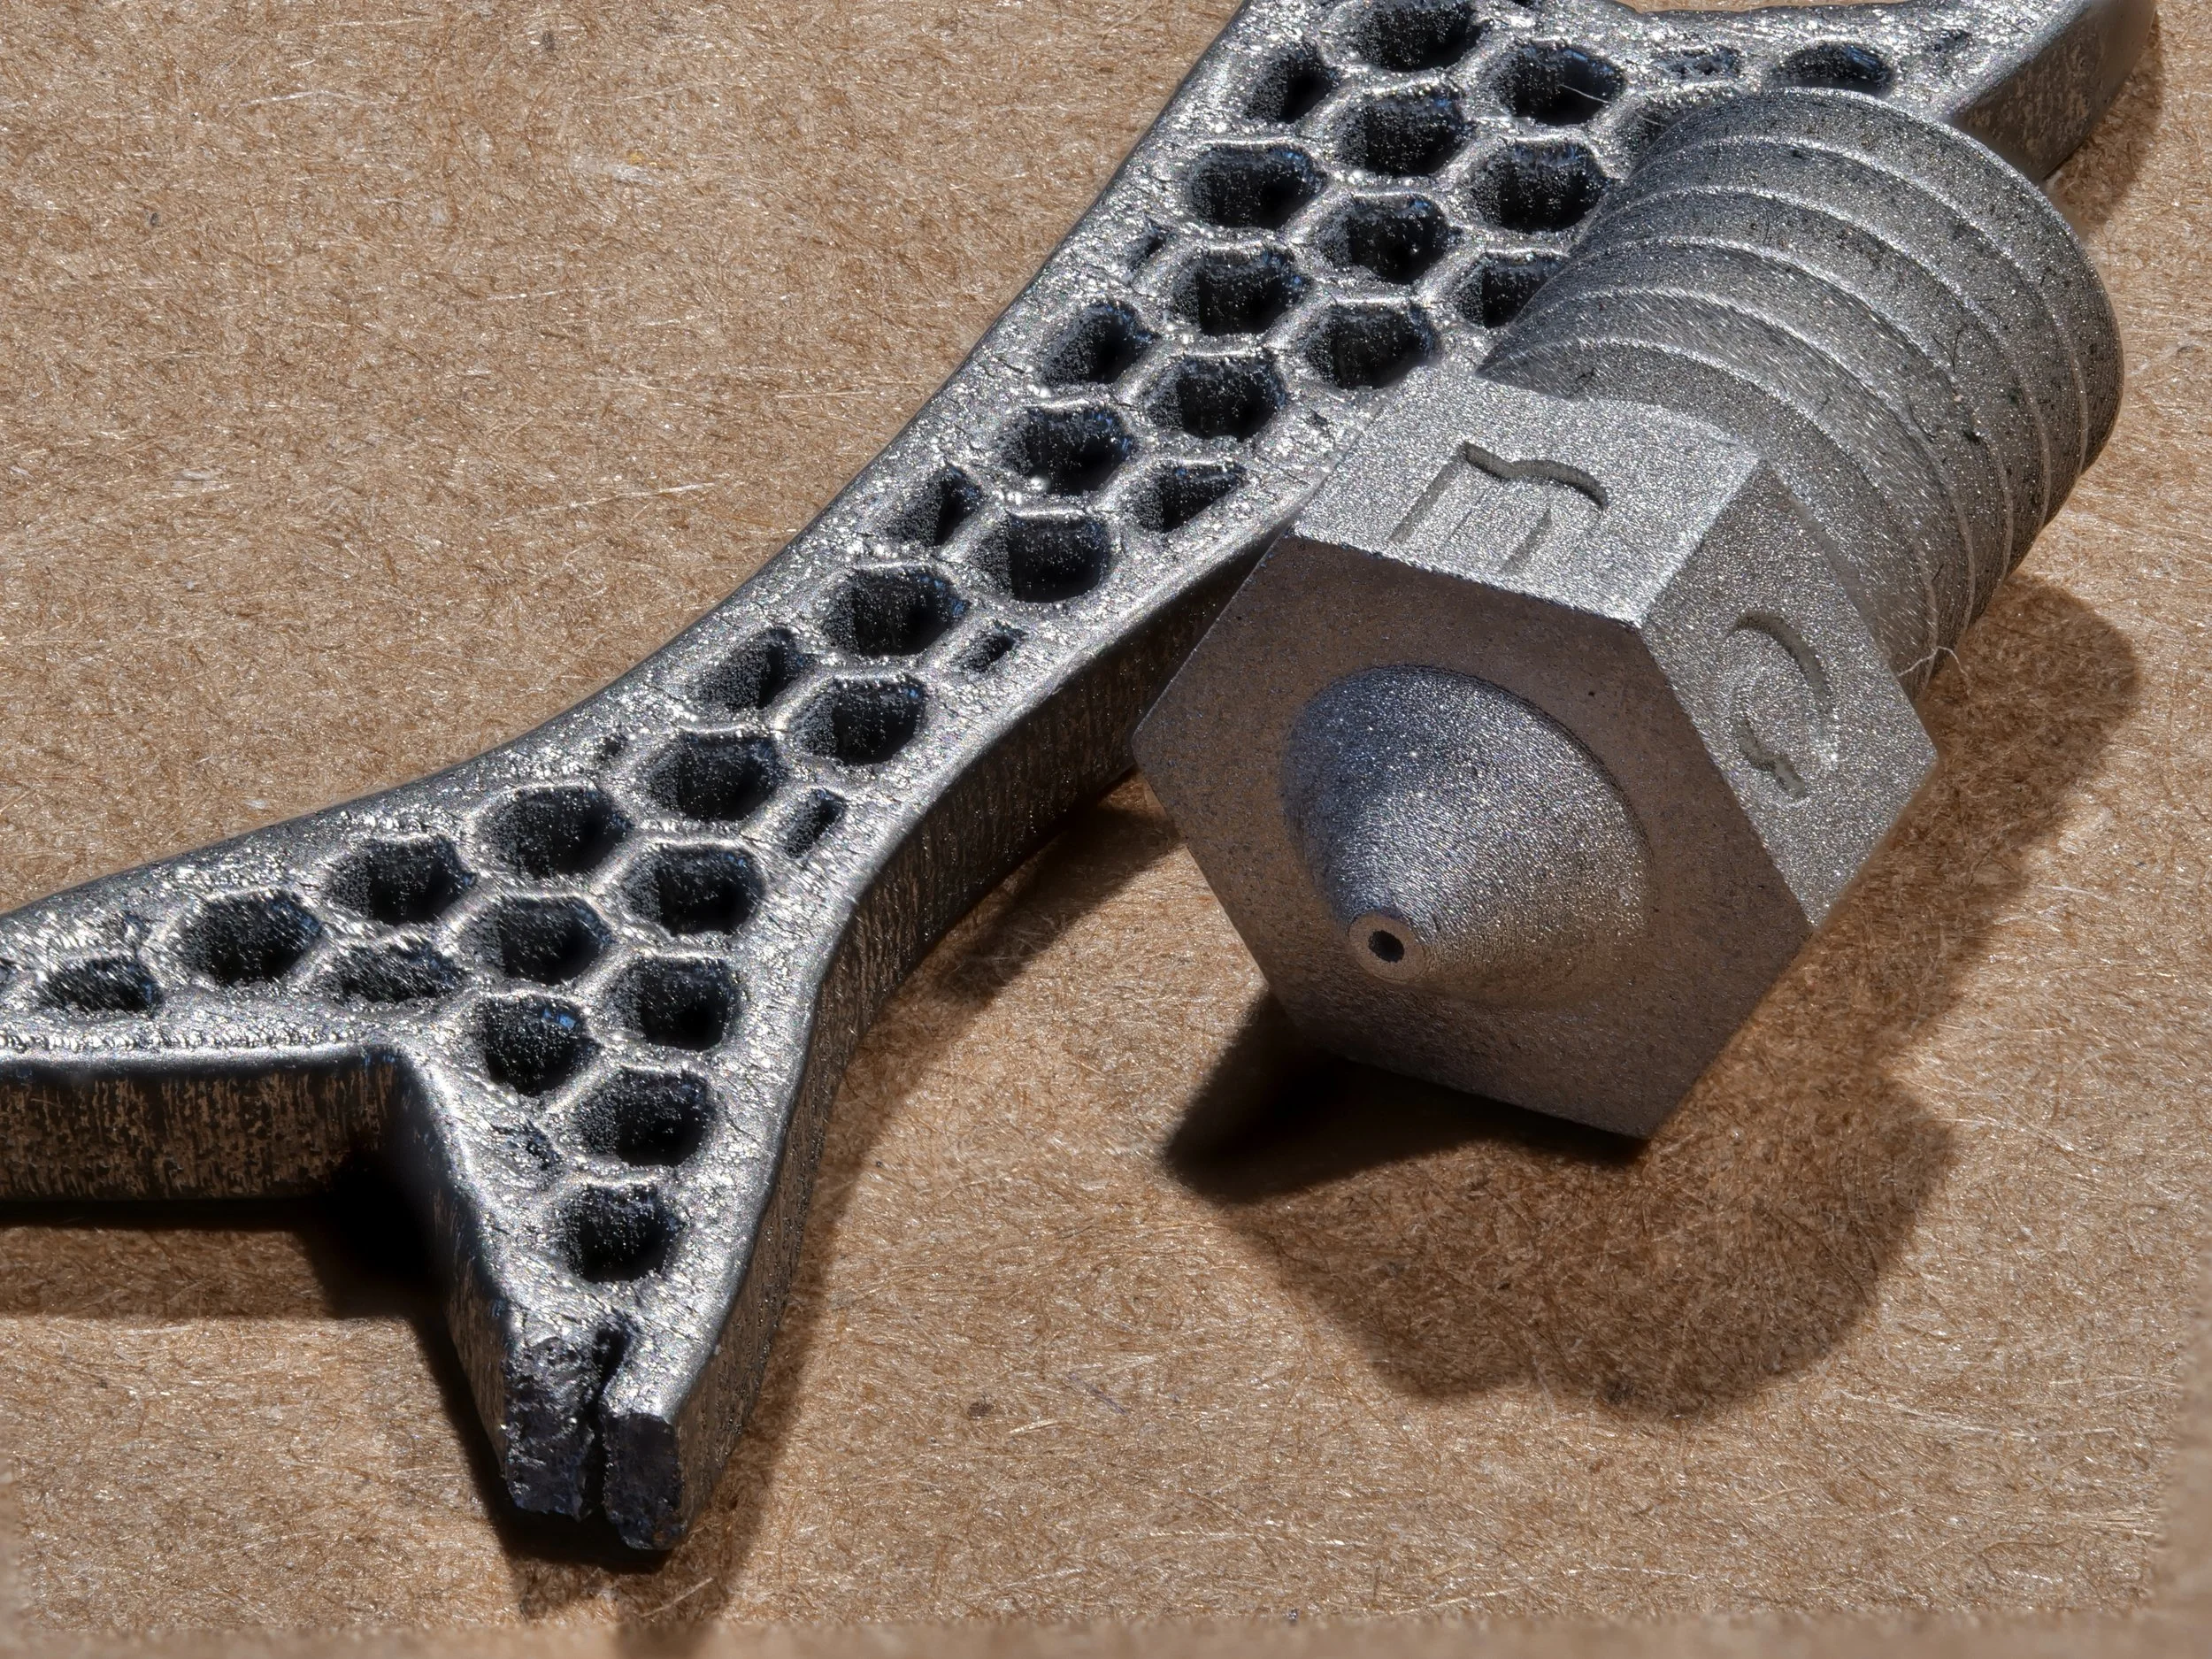
Also, in this picture you can see the fine resolution of the nozzle compared to a part made with a more typical metal 3d printing process. The wrench shown next to the nozzle is likely made with an SLM process.
You might notice the nozzle intake is larger than most 3D printer nozzles. I think this is because they designed this nozzle for use with 2.85mm filament, instead of the more common 1.75mm filament that is in widespread usage today.
You can see all the way through the nozzle. It’s printed through and through.
This article wasn’t sponsored by Incus, but they did provide the nozzle for testing and closer inspection.


