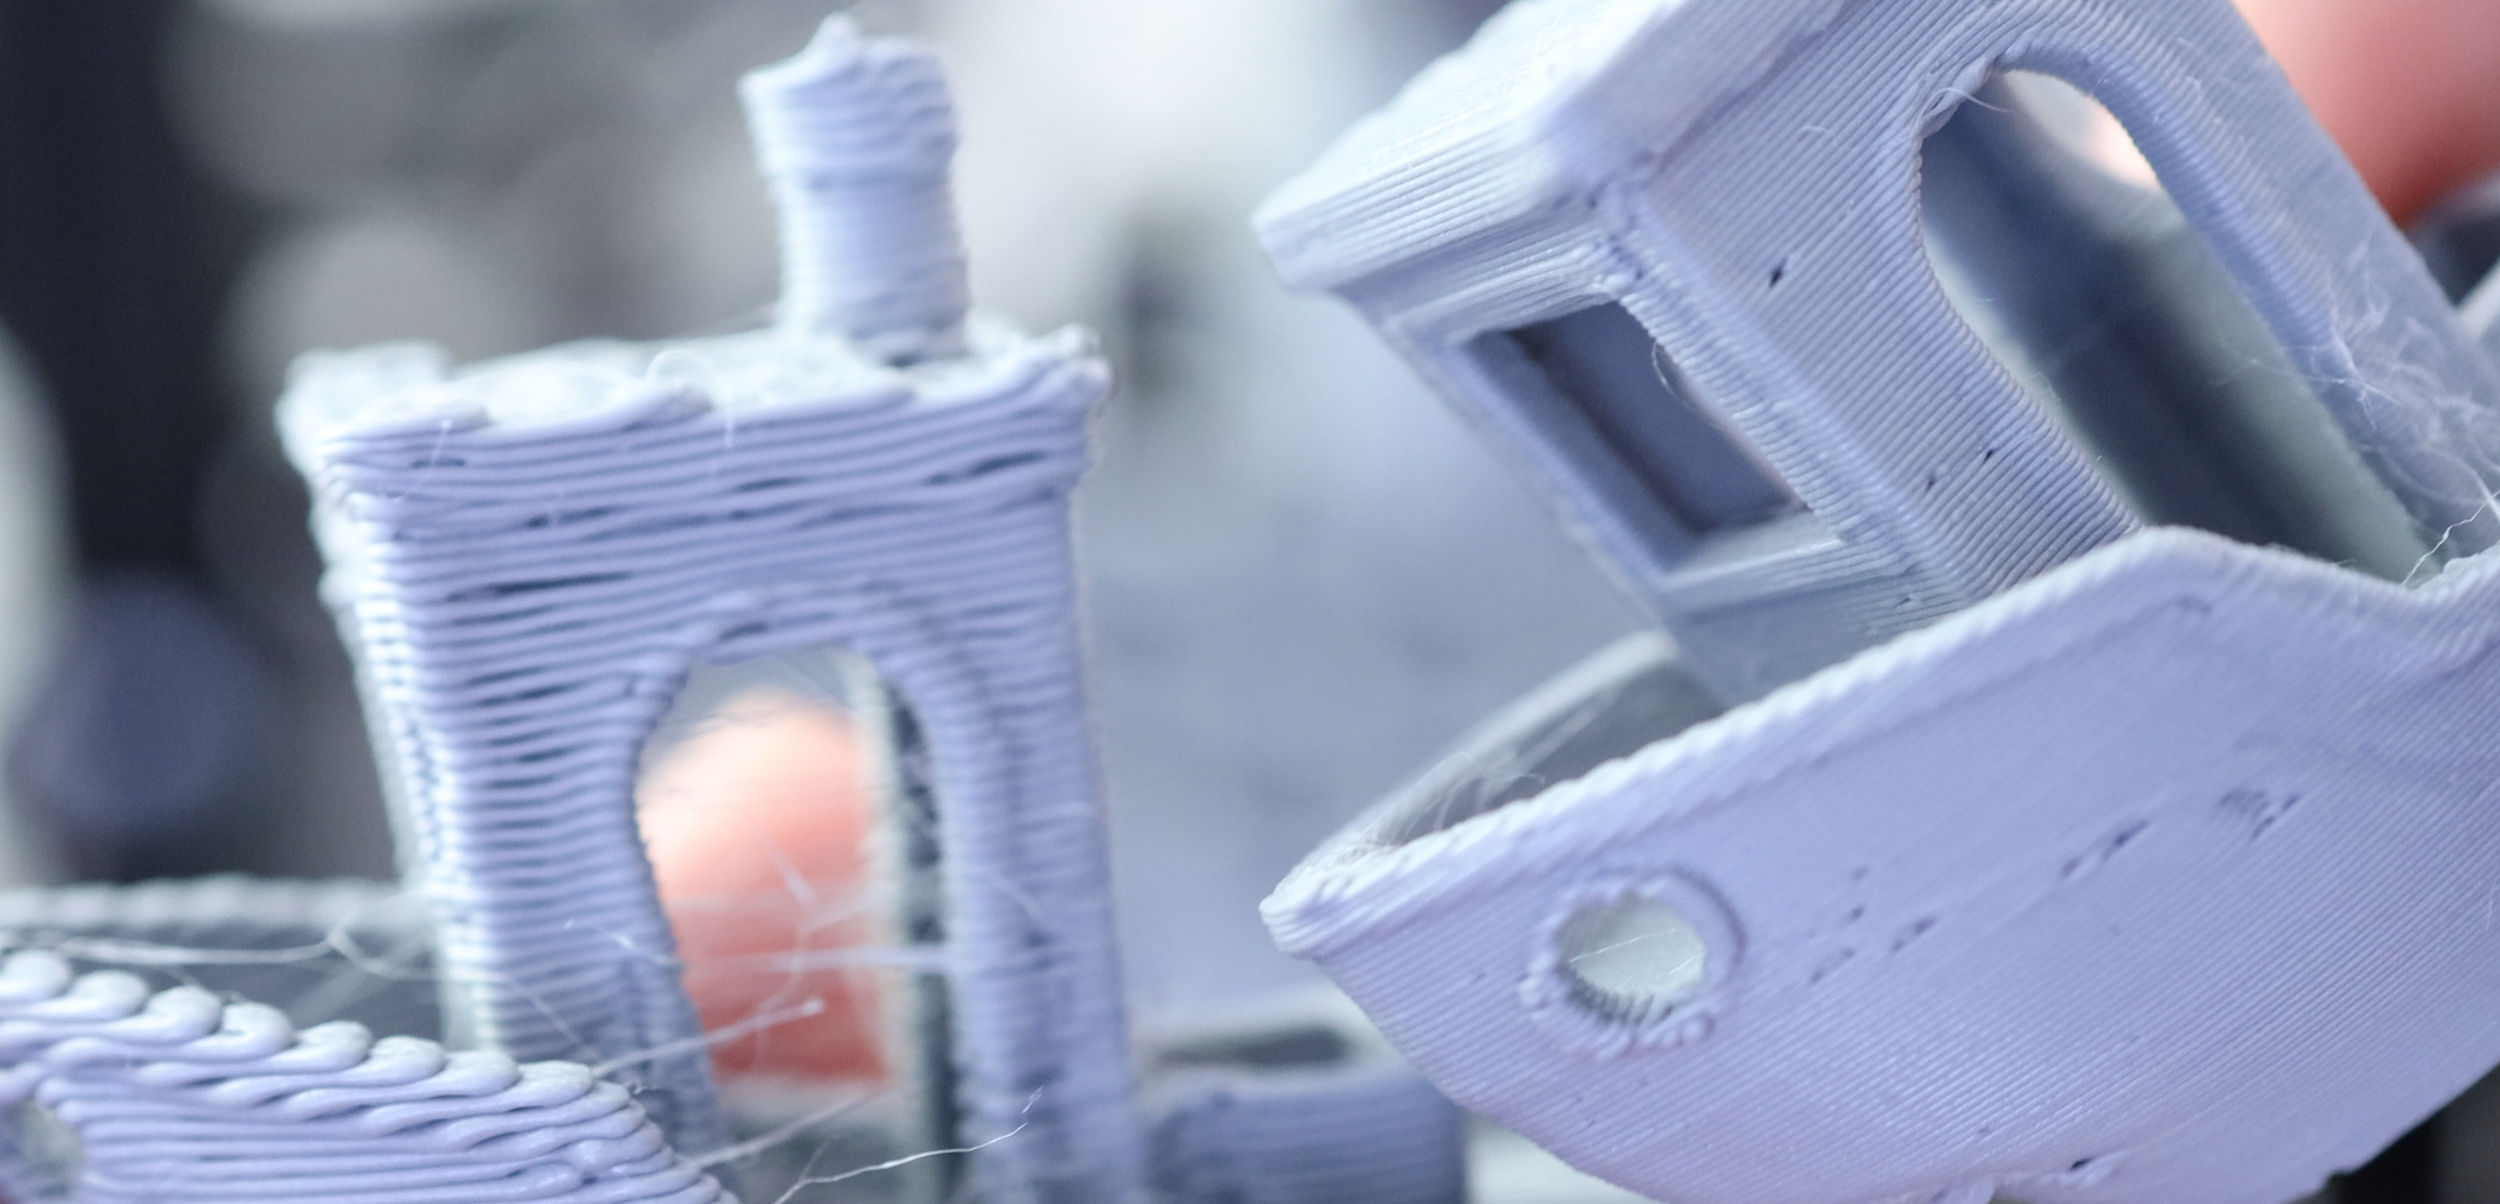
Flow Rate Testing of The Ender 3 V2
I purchased an Ender 3 v2 and a CHT nozzle to do some independent testing.
This has all the ingredients to be a great first mod for someone just getting into 3D printing, or someone who is more experienced and ready to take their print speeds to the next level.
I decided to upgrade to an all-metal heatbreak and bump the nozzle size up to 0.6mm for the new CHT nozzle. 0.6mm is a great size for making mechanical parts. You lose some of the fine detail that a 0.4mm nozzle can produce, but it lets you make thick-walled parts in less than half the time.
A rule of thumb I use to setting extrusion width and layer height, I lay down a bead in a 1:2 aspect ratio, and never print taller than the nozzle is wide. So my max speed profile for a 0.4mm nozzle is 0.8mm wide extrusion with a 0.4mm tall layer heights. So if we are running our Ender 3 at 100mm/s, that gives us a volumetric flow rate of 100*0.4*0.8 = 32 mm^3/s.
That is quite respectable, but let’s look at the number for a 0.6mm nozzle: 100*0.4*0.8 = 72 mm^3/s. A spool of PLA contains 330,000*1.75*1.75*3.1415/4= 793,720 mm^3 of filament. So a 0.6mm nozzle could consume a spool of PLA in 3 hours. That’s almost as fast as my Ender 3000!
After running the tests, it looks like the new nozzle is outperforming the old one, which is no surprise - any nozzle with 0.6mm diameter will perform better than the old 0.4mm one.
The way the CHT handled as it reached its limits was much different. With the 0.4mm stock nozzle, it’s like it hit a wall at 22mm*3/s. The 0.6mm CHT did the same at 32 mm^3/s.
for 34mm^3/s and above I increased the stepper motor torque, and the extruder kept turning, even when dropping below 65% volumetric flow rate. There must have been some major slipping going on at the extruder. If we consider 85% to be an acceptable amount of underextrusion, the 0.6 mm CHT nozzle upgrade increases flow rates from 20mm^3/s to 30 mm^3/s - a 50% improvement.
I will be investigating how to further increase flow rates by adding a:
Dual gear direct drive extruder
Copper heater block
High wattage heater cartridge
But remember, this CHT nozzle upgrade is only one part of what makes a great high-speed printer.
You need to balance this increased flow rate with a proportional increase in part cooling. Alternatively you can just print larger parts, which don’t need as much cooling, since the longer layer times allow the parts cool and solidify naturally.
A big weakness of the Ender 3 is its single-gear bowden-drive extruder. It adds a delay between a commanded extrusion and the filament coming out the nozzle. At high speeds and accelerations it causes a ton of overextrusion and underextrusion issues.
At high flow rates and the corresponding high nozzle pressures, the stock extruder starts to slip. It works fine at speeds up to 10 mm^3/s. If you want to get the most out of the CHT nozzle and start cranking plastic out at speeds up to 50 mm^3/s, you are going to want to upgrade your extruder to a dual gear direct drive model ASAP.


